2、项目初始化:
mkdir img-video-ascii
cd img-video-ascii
npm init -y
3、修改package.json
{
  "name": "img-video-ascii",
  "version": "1.0.0",
  "description": "Img-Video-ASCII is a powerful Node.js library designed to convert images and video frames into stunning ASCII art. Whether you're looking to transform a single picture or extract frames from videos to create dynamic ASCII art sequences, this library offers a simple yet flexible API to achieve your goals.",
  "main": "index.js",
  "scripts": {
    "test": "echo \"Error: no test specified\" && exit 1"
  },
  "keywords": [],
  "author": "",
  "license": "ISC"
}
这里主要关注main。这里指向你的入口js文件即可
4、编写.index.js
function convertToASCII(imageData) {
    const { data, width, height } = imageData;
    let ascii = '';
    const character = '6';  // 使用单一字符,例如 '6'

    for (let y = 0; y < height; y++) {
        for (let x = 0; x < width; x++) {
            const index = (y * width + x) * 4;
            const r = data[index];
            const g = data[index + 1];
            const b = data[index + 2];
            const brightness = (r + g + b) / 3;

            // 根据亮度选择字符,亮度越低字符越深
            ascii += brightness > 128 ? ' ' : character;
        }
        ascii += '\n';
    }

    return ascii;
}

function renderFrame() {
    // if (video.paused || video.ended) return;

    // 将视频帧绘制到Canvas上
    ctx.drawImage(video, 0, 0, width, height);
    const imageData = ctx.getImageData(0, 0, width, height);

    // 生成ASCII字符图像
    const ascii = convertToASCII(imageData);
    asciiDisplay.textContent = ascii;  // 使用textContent减少DOM操作

    // 使用requestAnimationFrame循环调用,保证每帧更新
    requestAnimationFrame(renderFrame);
}


export const imageToAscii = (dom) => {
    renderFrame();
}
这里注意export部分,这是外部可以调用的函数
5、本地调试
//在img-video-ascii项目根目录下输入:pnpm link --global
// 创建一个vite项目vite_test后,在该项目中根目录下键入:pnpm link --global img-video-ascii,然后就可以在项目中调用imageToAscii来查看效果了
import { imageToAscii } from 'img-video-ascii';
6、逻辑代码
function convertToASCII(imageData, columns, rows) {
    const { data, width, height } = imageData;
    let ascii = '';
    const character = '@';  // 可选择填充字符

    const colStep = width / columns;
    const rowStep = height / rows;

    for (let y = 0; y < height; y += rowStep) {
        for (let x = 0; x < width; x += colStep) {
            const index = (Math.floor(y) * width + Math.floor(x)) * 4;
            const r = data[index];
            const g = data[index + 1];
            const b = data[index + 2];
            const color = `rgb(${r}, ${g}, ${b})`;

            // 根据颜色值显示字符
            ascii += `<span style="color:${color};">${character}</span>`;
        }
        ascii += '<br/>';
    }

    return ascii;
}

export function imageToAscii(imageUrl, container) {
    const image = new Image();
    image.crossOrigin = "anonymous"; // 解决跨域问题
    image.src = imageUrl;

    image.onload = () => {
        const { width, height } = image;
        const canvas = document.createElement("canvas");
        canvas.width = width;
        canvas.height = height;
        const ctx = canvas.getContext("2d");
        ctx.drawImage(image, 0, 0);

        const imageData = ctx.getImageData(0, 0, width, height);

        // 选择合适的字体大小和行高比例实现填充
        const charCols = width / 8; // 可根据容器大小动态计算
        const charRows = height / 14;

        const ascii = convertToASCII(imageData, charCols, charRows);

        container.style.fontSize = `${width / charCols}px`;
        container.style.lineHeight = `${height / charRows}px`;
        container.style.whiteSpace = "pre"; // 保留空格和折行
        container.innerHTML = ascii;
    };

    image.onerror = (event) => {
        console.error("Failed to load image", event);
    };
}
这里的核心代码是对分辨率设置
- 首先自己定一个最小“自定义像素”C,C的宽度是8px高度是14px
- 根据img的尺寸计算出基于c的横纵方向的块数个数charCols、charRows
- 接下来根据charCols、charRows来提取像素信息,实际上就是池化,然后将这个池化结果运用到C上,也就是使用字符来替换多个像素部分。
- ascii收集所有c的信息后返回给用户部署到容器上,这样就完成了像素到字符的转换。
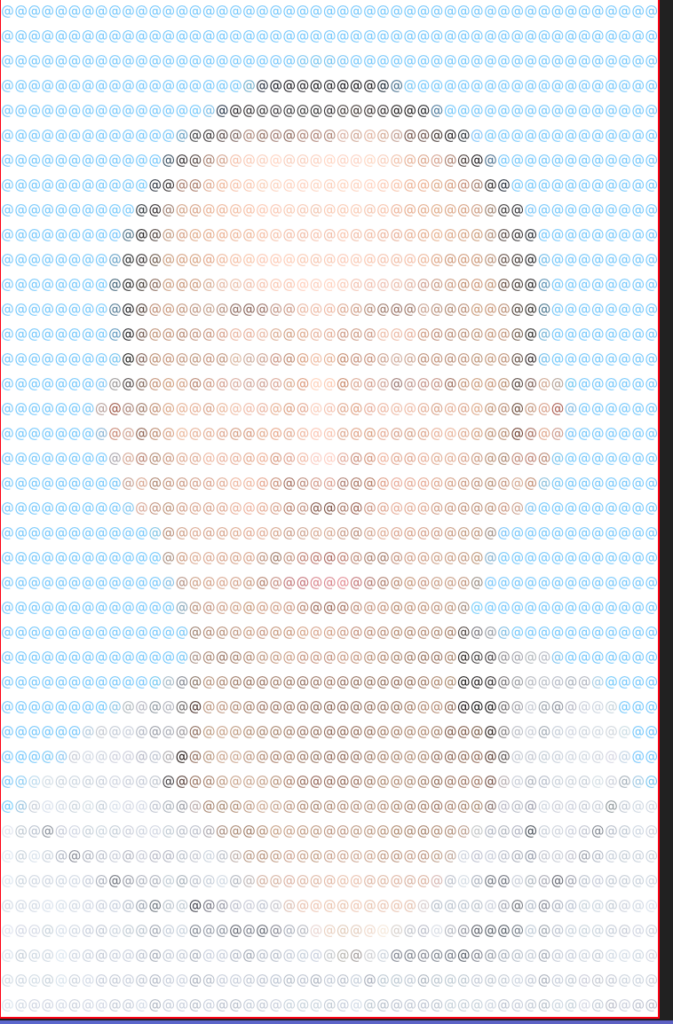
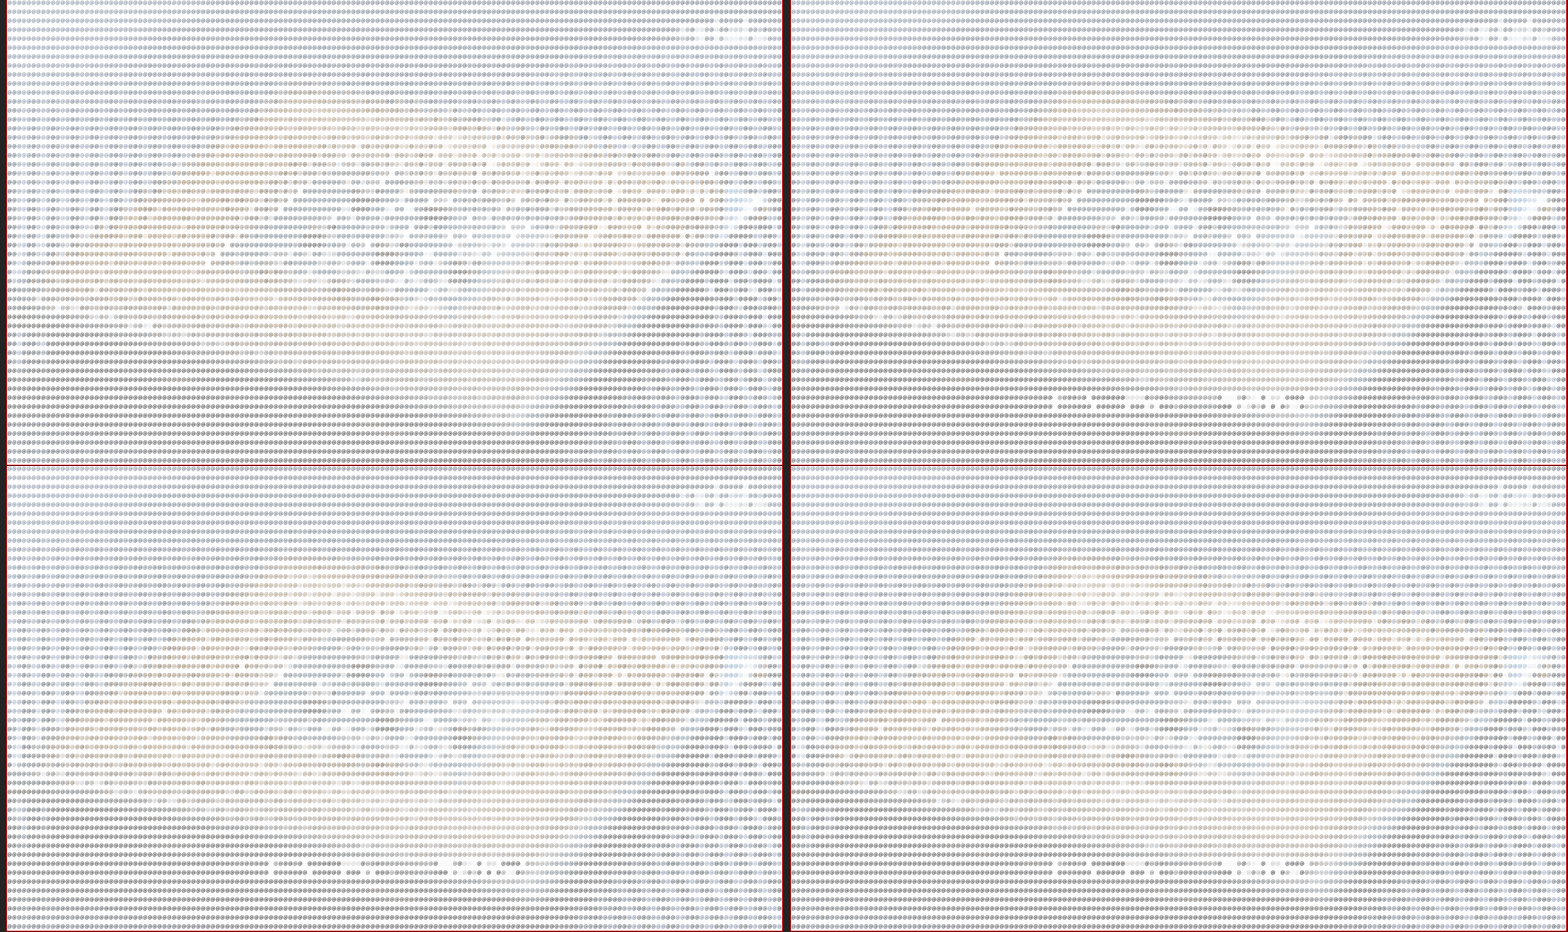
7、效果展示

8、视频转字符画
思路和图片转换一样,使用canvas截取一帧的图片,再转换为字符画:
function convertToASCII(imageData, columns, rows) {
    const { data, width, height } = imageData;
    let ascii = '';
    const character = '@';  // 用于填充的字符

    const colStep = width / columns;
    const rowStep = height / rows;

    for (let y = 0; y < height; y += rowStep) {
        for (let x = 0; x < width; x += colStep) {
            const index = (Math.floor(y) * width + Math.floor(x)) * 4;
            const r = data[index];
            const g = data[index + 1];
            const b = data[index + 2];
            const color = `rgb(${r}, ${g}, ${b})`;

            // 根据颜色值显示字符
            ascii += `<span style="color:${color};">${character}</span>`;
        }
        ascii += '<br/>';
    }
    return ascii;
}

function setupASCIIContainer(container, fontSize, lineHeight) {
    container.style.fontSize = `${fontSize}px`;
    container.style.lineHeight = `${lineHeight}px`;
    container.style.whiteSpace = "pre"; // 保留空格和折行
}

export function imageToAscii(imageUrl, container) {
    const image = new Image();
    image.crossOrigin = "anonymous";

    image.onload = () => {
        const { width, height } = image;
        const canvas = document.createElement("canvas");
        canvas.width = width;
        canvas.height = height;
        const ctx = canvas.getContext("2d");
        ctx.drawImage(image, 0, 0);

        const imageData = ctx.getImageData(0, 0, width, height);
        const charCols = width / 8;
        const charRows = height / 14;
        const ascii = convertToASCII(imageData, charCols, charRows);

        setupASCIIContainer(container, width / charCols, height / charRows);
        container.innerHTML = ascii;
    };

    image.src = imageUrl;
    image.onerror = (event) => {
        console.error("Failed to load image", event);
    };
}

function drawVideoFrame(ctx, canvas, video, container, charCols, charRows) {
    ctx.drawImage(video, 0, 0, canvas.width, canvas.height);
    const imageData = ctx.getImageData(0, 0, canvas.width, canvas.height);
    const ascii = convertToASCII(imageData, charCols, charRows);
    container.innerHTML = ascii;

    requestAnimationFrame(() => drawVideoFrame(ctx, canvas, video, container, charCols, charRows));
}

export function videoToAscii(videoUrl, container) {
    const canvas = document.createElement("canvas");
    const ctx = canvas.getContext("2d");
    const video = document.createElement("video");

    video.crossOrigin = "anonymous";
    video.src = videoUrl;
    video.autoplay = true;
    video.loop = true;
    video.muted = true;
    video.play();

    video.oncanplay = () => {
        const { videoWidth, videoHeight } = video;
        canvas.width = videoWidth;
        canvas.height = videoHeight;

        const charCols = videoWidth / 8;
        const charRows = videoHeight / 14;

        setupASCIIContainer(container, videoWidth / charCols, videoHeight / charRows);
        requestAnimationFrame(() => drawVideoFrame(ctx, canvas, video, container, charCols, charRows));
    };

    video.onerror = (error) => {
        console.error("Error loading video", error);
    };
}


